Deployment
Build, train and deploy a churn prediction model using Amazon SageMaker
- login to the S3 Console
- create an S3 bucket where model and training data will be stored.
- login to the SageMaker Console
- click on ‘notebook instances’ and create a notebook instance
- enter a name for your notebook instance
- select
ml.m5.xlargeas your notebook instance type - under ‘IAM role’ create a new role
- select ‘Any S3 bucket’ and click create new role

- go ahead and click on ‘Create notebook instance’

- under ‘notebook instance’ once your instance status will show ‘InService’ , click on ‘OpenJupyter’ under Actions

- click on the ‘SageMaker Examples’ tab
- click on ‘Introduction to Applying Machine Learning’
- click on the’use’ button next to
xgboost_customer_churn.ipynb
- Create a copy in your home directory
- select
Conda_python3as your kernel - go through the SageMaker notebook
- point to your S3 bucket where the sample dataset will be downloaded to.

change Cell 6 (shown in figure) to the following snippet:
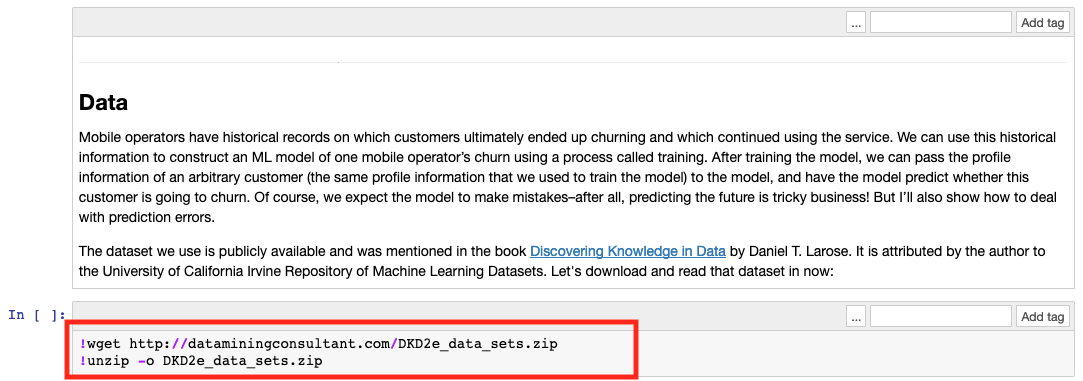
!wget https://bit.ly/ako2020-churn-dataset
!unzip -o ako2020-churn-dataset
you can now click on the ‘Cell’ tab, as shown in figure. Alternatively, you can select a cell and hit
SHIFT+Enteron your keyboard to evaluate a single cell.
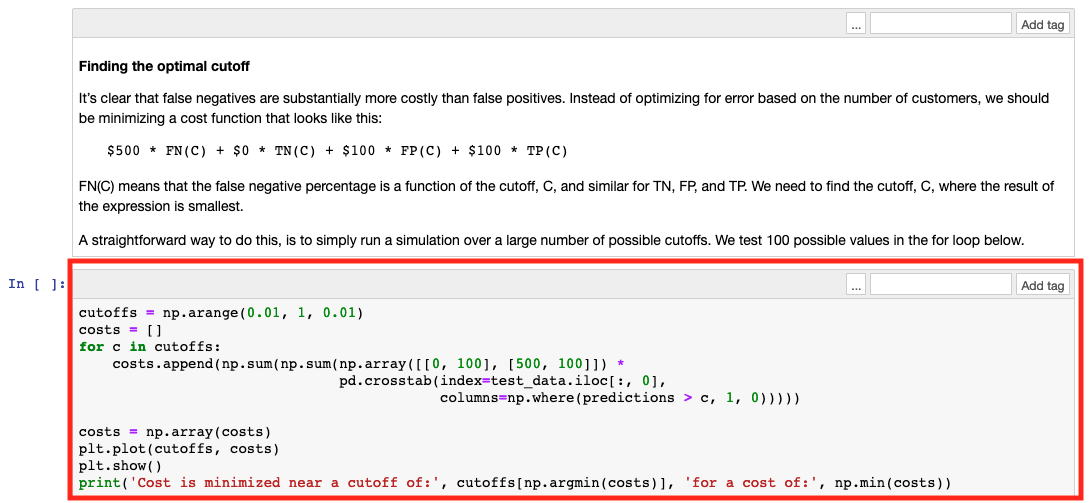
Run up to Step 17, as shown in figure
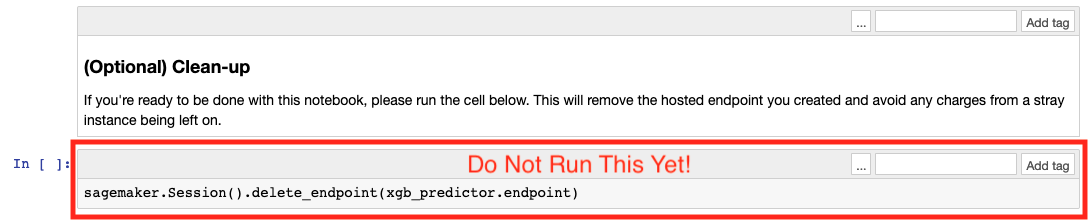
Make sure you don’t run the optional cleanup yet
Go through the notebook and examine the different steps:
- Data Exploration
- Model Training
- Host
Once the model is deployed and an endpoint created, we can move to the next stage.